How to host AI tools on a custom domain
In this tutorial, we'll walk you through the process of hosting and monetizing your AI tools on a custom domain using a feature called Portal.
This feature allows you to create a personal website where you can host individual AI tools or collections of AI tools.
Creating a Portal
Let's start by creating a new Portal.
Click the "Create new Portal" button to initiate the 5-step process.
-
Specify the following details:
- Title
- Description
-
Select a Slug (used as the default subdomain)
- By default, your Portal is hosted on our subdomain, so you don't need to have a domain
- You can update it anytime in the future.
-
Customize the branding:
- Set primary and secondary colors
- Upload your logo
- Upload an icon
- Add a social preview image
Adding Tool Collections
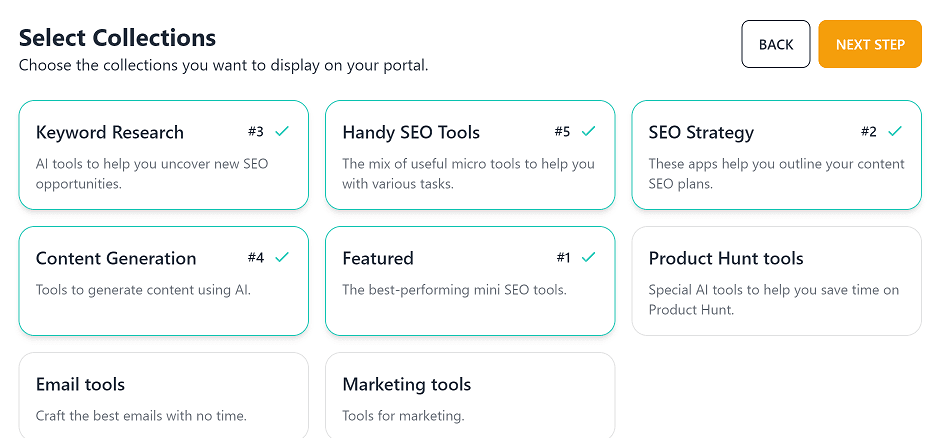
- Choose the tool collections you want to host on your Portal.
- Arrange the order of collections by clicking on them.
Setting Up a Custom Domain
If you don't have a custom domain, you can skip this step, and your Portal will be hosted on a subdomain provided by the platform.
If you own a domain, you can set it up here.
You need to update your domain DNS records. Go to your domain provider and add new CNAME records based on what you see on the screen.
 (this is a preview, you will see your different records to set)
If you are not technical feel free to contact us for a help.
Adding Extra Links
Optionally, you can add links to navigation bar of your website.
It will look like this:

- Add extra links that will appear in the navigation bar of your Portal.
- These links can direct users to additional resources or pages.
Monetization Options
By default, apps on the Portal are offered for free.
You can choose to make your Portal private:

- Only invited people will have access
- People who have paid a fee will have access
Enable the "unlimited" option:

- Allow Portal users (your customers) to provide their own API keys
- This gives them unlimited use of your AI tools
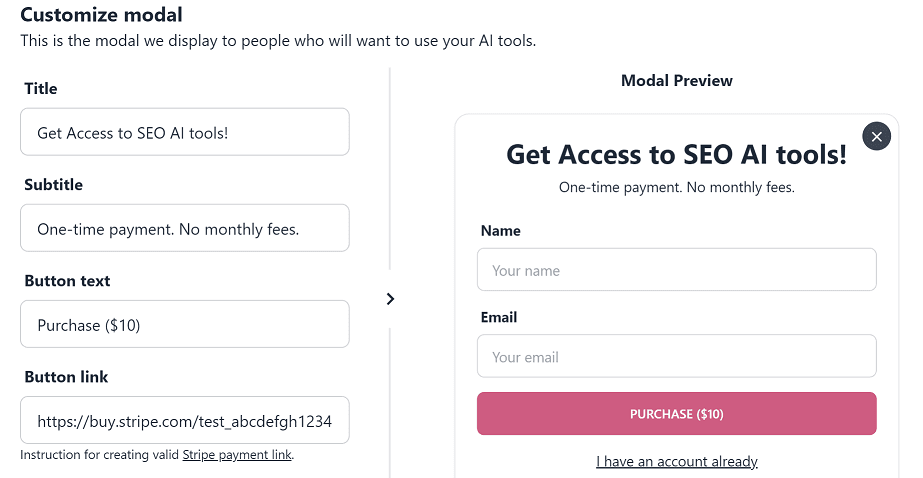
Customize the pop-up modal for non-customers:
- Design what you want to ask potential customers
- Set up a button link (e.g., Stripe payment link or any other payment service)
Reviewing and Finalizing
- Review your Portal settings.
- Click "Save & Finish" to publish your Portal.
Managing Users and Credits
Users consume AI credits when they use your tools. One AI credit equals one tool usage. It's the usage-based systems.
To manually add users:
-
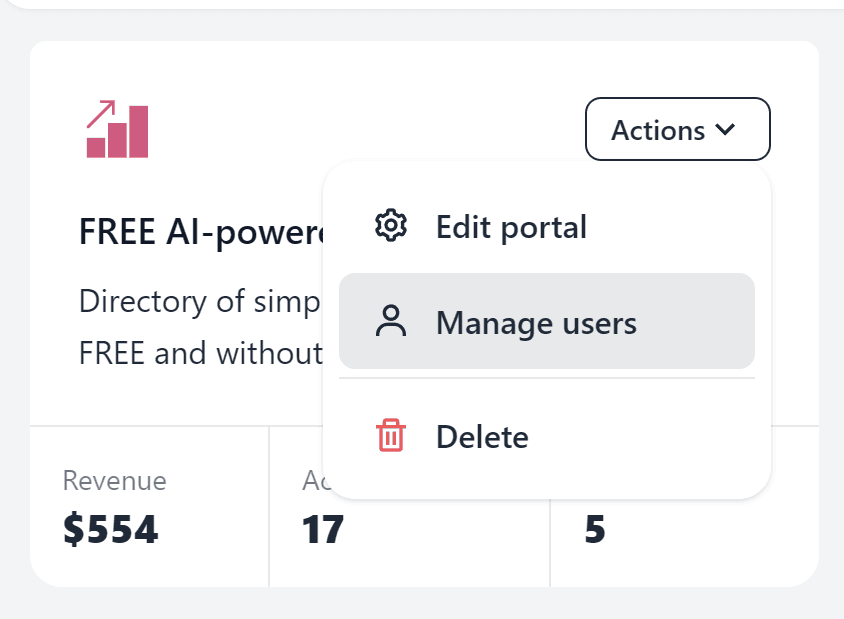
Go to "Manage Users"
-
Click "Add new User" and specify:
- Name
- AI credits
- Credits type (one-time or subscription)
- Account value (how much user paid for an account)
The system will email new users their credentials
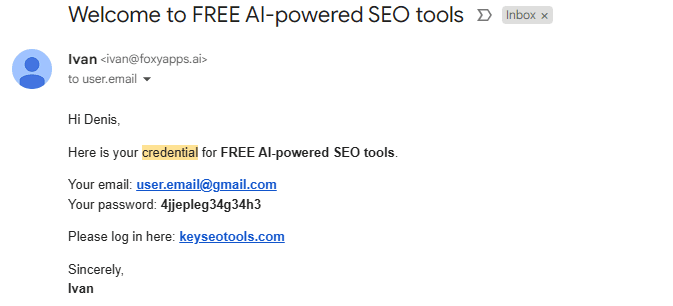
Existing users can see:
- Their name
- Remaining credits
- Renew date (in case of a subscription)

Next: Automating User Access with Zapier
In the next step, you can connect your Portal with Zapier to:
- Collect payments via any payment provider (Stripe, PayPal, Wise, Paddle...)
- Grant users access to your Portal automatically
Let me show you how to do that in the next tutorial.
